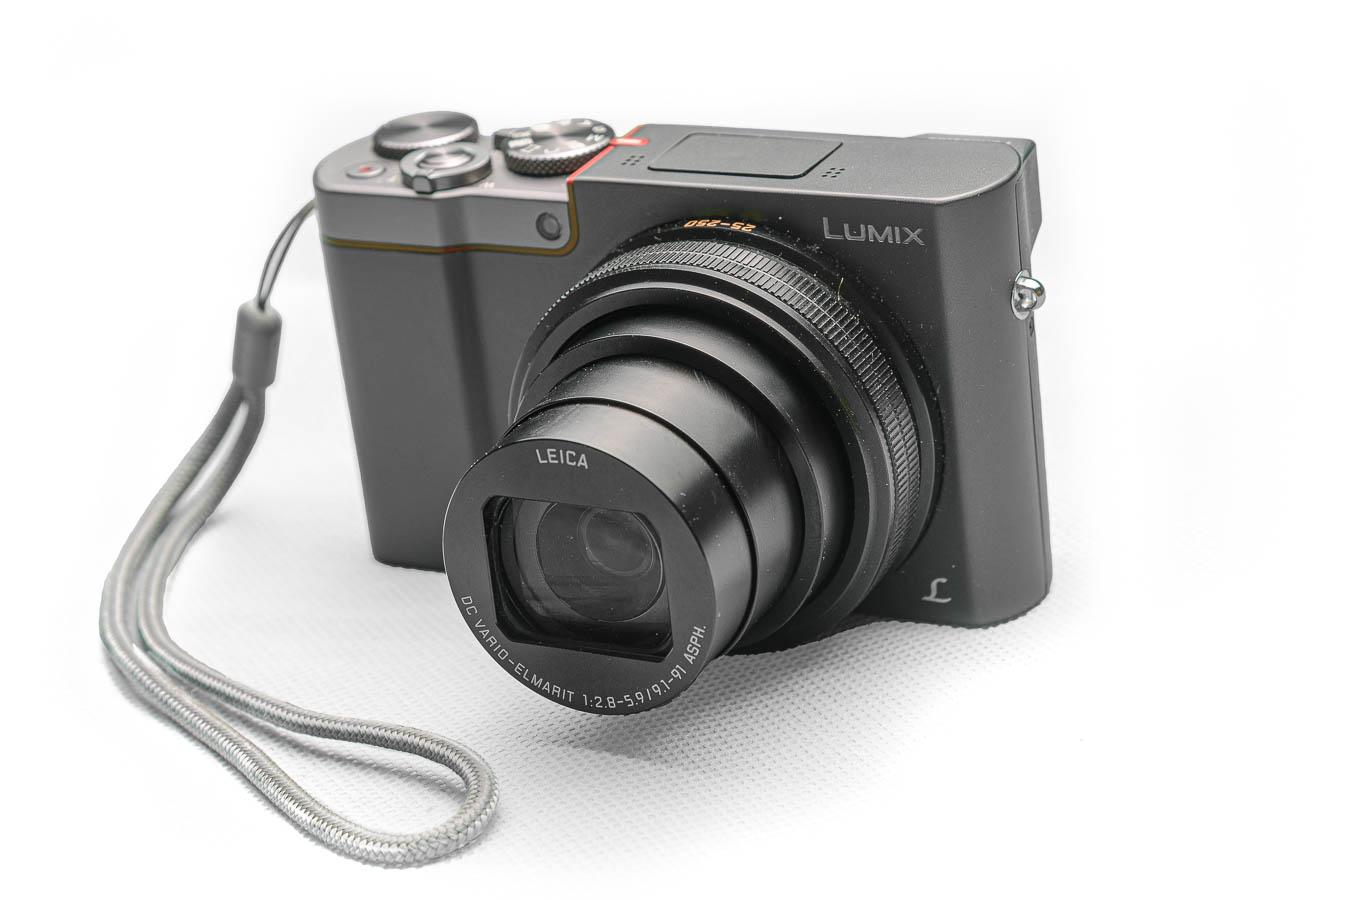
Around 4 year ago, I spontaneously bought the Panasonic DMC-TZ 101 Lumix compact camera. It had been offered as a bargain after the Christmas shopping season in a grab bag along with other items unknown to the buyers. This meant that, as a buyer, I knew what kind of camera was inside and what the price was. That was enough to convince me to buy it. I wanted to have it as a camera I’d always have with me and for practice purposes.
I really liked the first shots I took with it, and two of them are already hanging on our wall in large format.
We flew to Honduras over Christmas 2022. We spent three weeks in the capital, Tegucigalpa, and one week on Roatán, a Honduran island in the Caribbean. Since the security situation isn’t great anywhere in Latin America, I decided to leave my regular photography equipment at home and take just the Lumix instead. It’s so small that it almost disappears in your hand and can be quickly slipped into a jacket or pants pocket without demanding much attention.
So I ended up taking about 5,000 photos with her in one go.
Camera Documentation and Manual
To become thoroughly familiar with its menu and functions, I decided to work through the camera’s manual while lounging on a lounger under palm trees. I did just that, but on page 45 of the quick reference guide, I realized that the extensive functions weren’t described there at all, but were contained in a PDF file that could be downloaded via a QR code. I did that, but I really didn’t feel like working through the 406-page PDF file on my phone or laptop. It was just too much for me. So I used the camera more intuitively.
Below, I describe how I worked with the camera, or rather, how I got to know it. This isn’t a description of all of the camera’s functions, but simply a reflection of my impressions. And I did this WITHOUT having first worked through the 406-page manual.
Memory Card
The camera has a slot for an SD card. This is located next to the battery compartment on the bottom of the camera. I used a 128 GB card, which worked perfectly. It was sufficient for the 5,000 or so RAW photos I took. Although I always copied the images to my hard drive promptly, I still left them on the memory card for backup. If I’d needed more space, a second card wouldn’t have been a problem.
File Formats
The camera saves images either as JPEGs, RAW files, or both. Two different JPEG quality levels can be selected: a lower quality for more shots, and a higher quality (with correspondingly fewer shots). I chose the RAW format alone, as I edit the images later in Lightroom and/or Photoshop. JPEGs don’t really make much sense in this case. RAW files on the camera are between 20 and 25 MB in size, so my SD card had plenty of space. I also had a 32 GB card with me in case of emergency, but I didn’t use it.
Camera Exposure Programs
With my Nikon cameras, I almost exclusively shoot in manual mode. Years ago, I intensively studied the Sunny 16 rule and trained myself using it. Since then, automatic modes have only been an option for me in exceptional cases. But it’s different with the Lumix. I almost exclusively shot in aperture priority mode, which was due to the camera’s small size, which makes it difficult to adjust the settings with fingers like mine. More on that later.
In addition to manual mode, the camera can be operated in aperture priority, aperture priority, or program priority. Scene automatic modes are also available. This allows you to set how you want to photograph your sunset, for example: dramatic or romantic. The camera settings and color treatment are adjusted automatically depending on your choice.
A panorama function is also included: At the beginning of the shot, the shutter button is pressed, and the shutter releases continuously. The camera is panned, and at the end of the shot, the shutter button is pressed again. The panorama is combined. And that’s it! The finished image, however, is only saved as a JPEG, and the individual shots are not saved at all. I didn’t use this function. I create my panoramas in other ways.
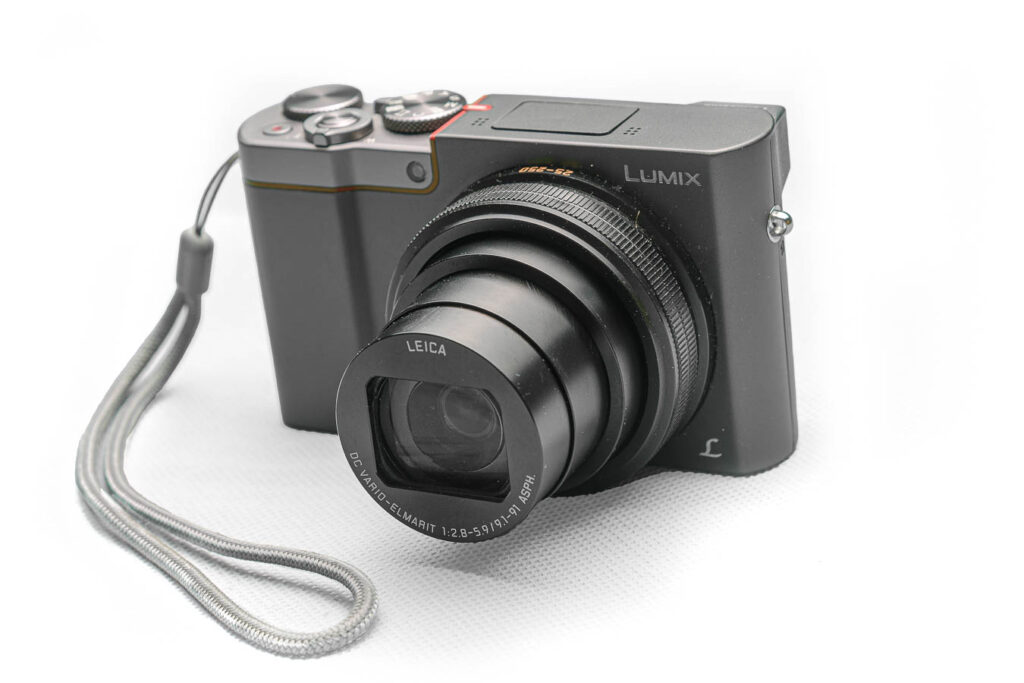
Handling and Controlling of the Camera
The camera is quite small, which was the reason I took it with me on my trip to Honduras. It’s easy to pack and transport it in bags. That was the reason I bought it and also the reason I took it with me to Honduras. Unfortunately, small dimensions also have their disadvantages. The touchscreen and control knobs are very small and close together, making it easy to make a mistake and press the wrong buttons or commands on the touchscreen. This happened to me quite often. Once, when we were in Valle de Angeles, it was so out of adjustment that only a complete reset helped. This meant that I had to reset all my beloved settings, including the RAW recording format (unfortunately, the first images were taken as JPEGs) and the current date and time for the timestamps in the files, which are important for later GPS assignment.
So if you want to take important, irretrievable shots, such as at weddings, I strongly recommend that you familiarize yourself thoroughly with the camera and the PDF manual beforehand. The camera is simply too easy to adjust unintentionally and unnoticed. In my case, the unnoticed adjustments essentially always involved the same error, which arose from the fact that holding the small body in certain situations is difficult without touching the touchscreen. In my case, this often happened at the point where the sensor for the picture styles is located, which quickly altered the look of the subsequent images.
HDR
Although the camera offers its own HDR function, I regularly use several differently exposed shots for mine, which I either combine using the RAW converter or blend together in Photoshop using layers and luminance masks. The camera offers a very good bracketing function for this. Using an exposure bracketing, you can create up to five shots with different exposures. To do this, you hold down the shutter button once, and the camera will run through the series. This happens very quickly, so good results can be achieved within limits even with slightly moving subjects.
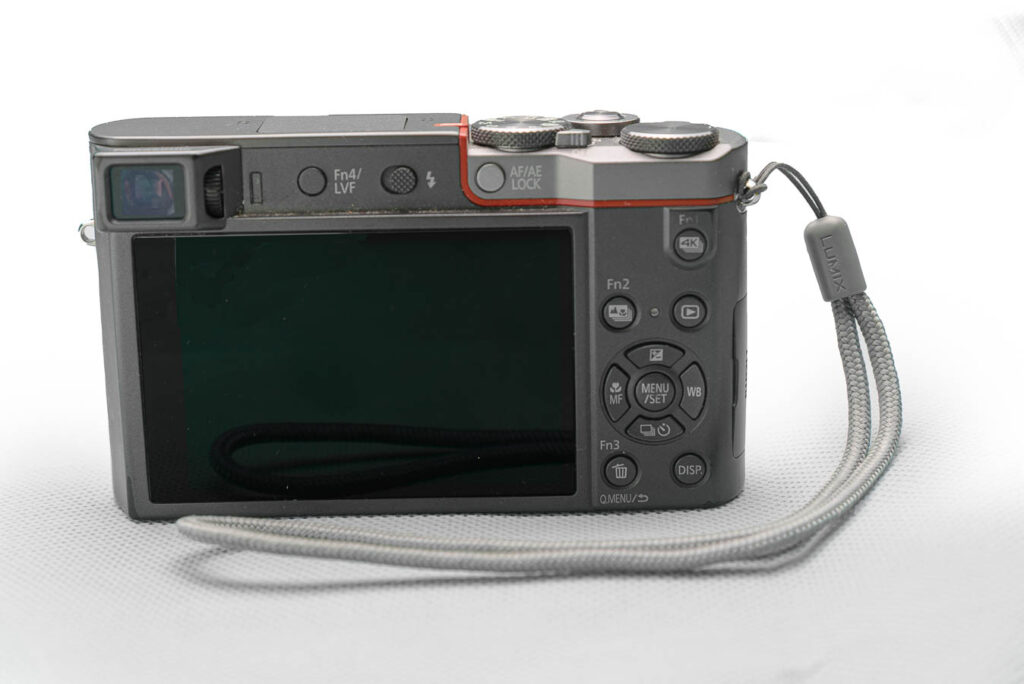
Back of the Panasonic DMC-TZ 101 with touchscreen. The control buttons are very small and close together, making it easy to accidentally change settings. For someone like me, who primarily works with full-frame cameras, the handling takes some getting used to.